
Uncategorized

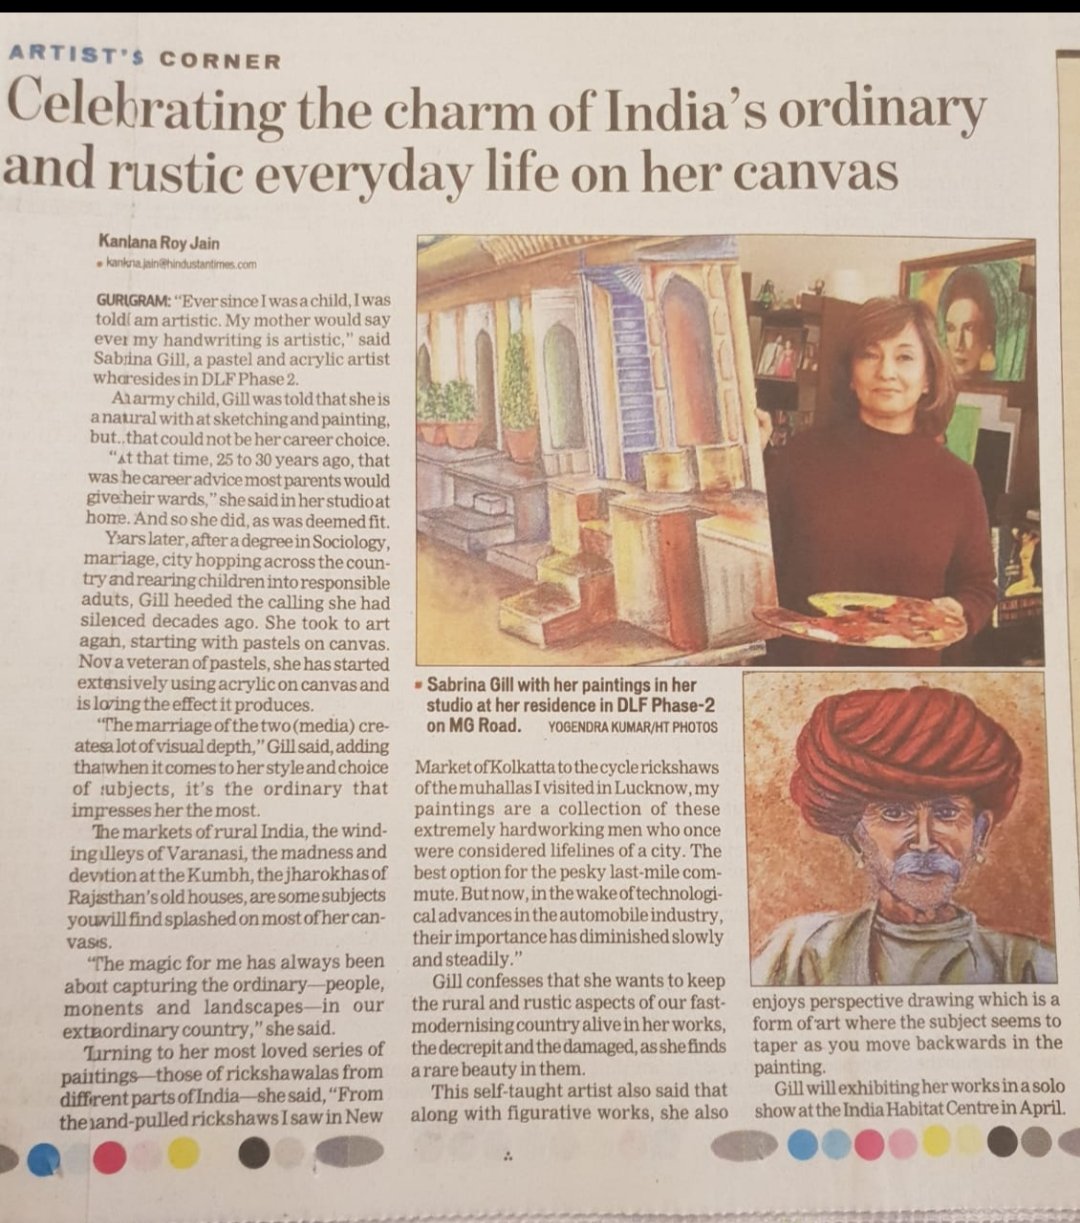
I Am An Artists – Thank You For Understanding.


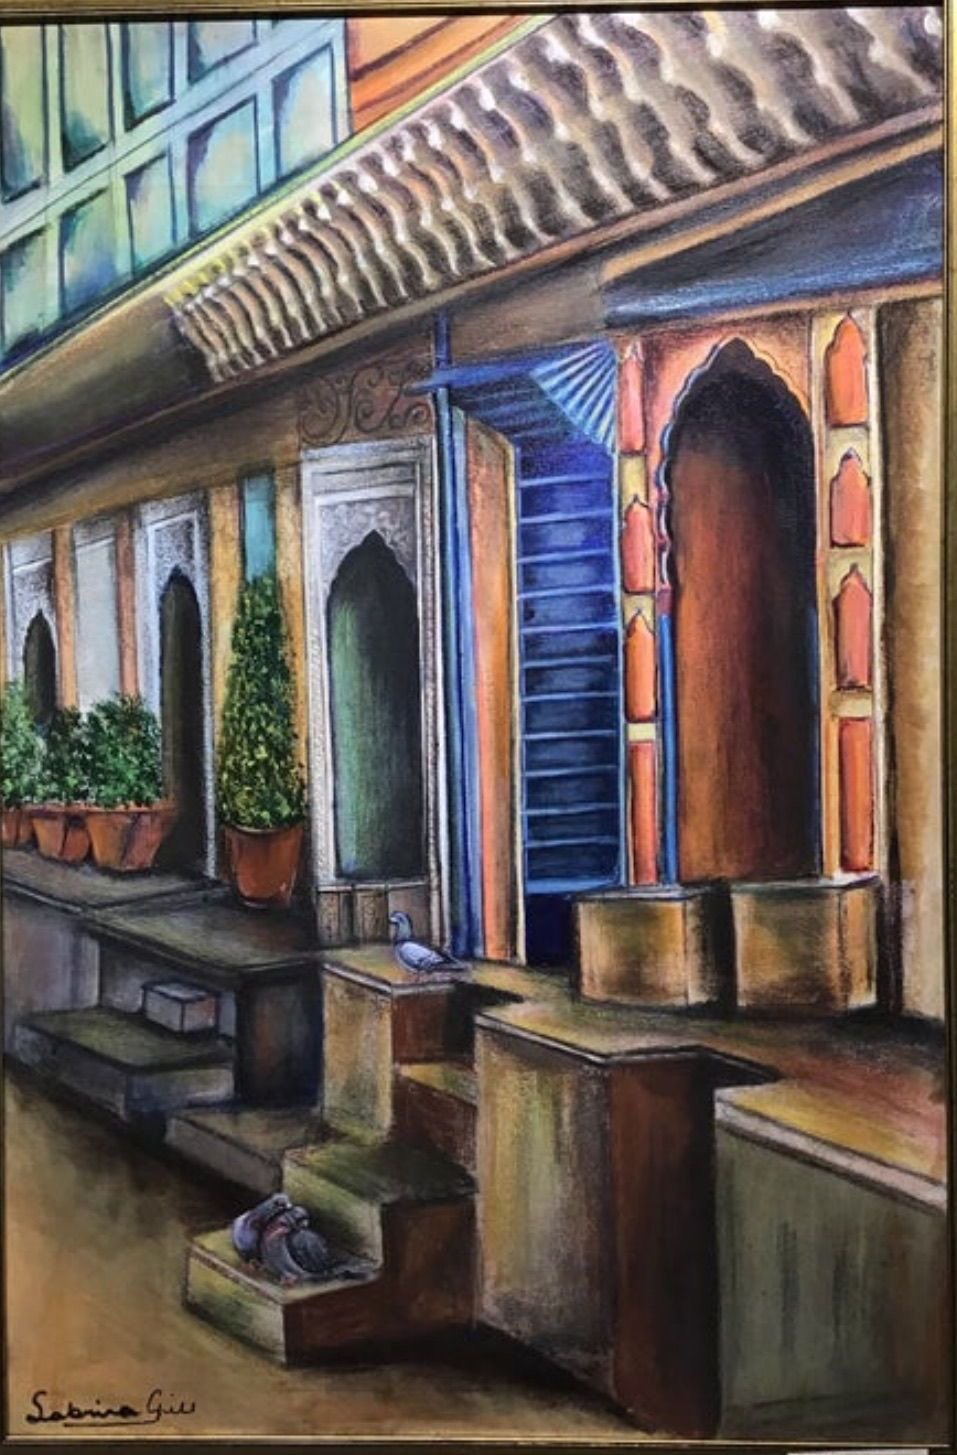
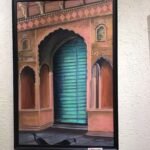
I have been accused of zoning out of conversations during road trips with family and stopping to photograph a quaint alleyway, that escaped the attention of my companions. It was from those charming, small town street-scapes that my acrylic on canvas series, “Alleyways of India” ( featured in my online gallery https://www.etsy.com/shop/RengeBySabrina
and website
http://sabrinagill.in/was conceived.
Alleyways of India

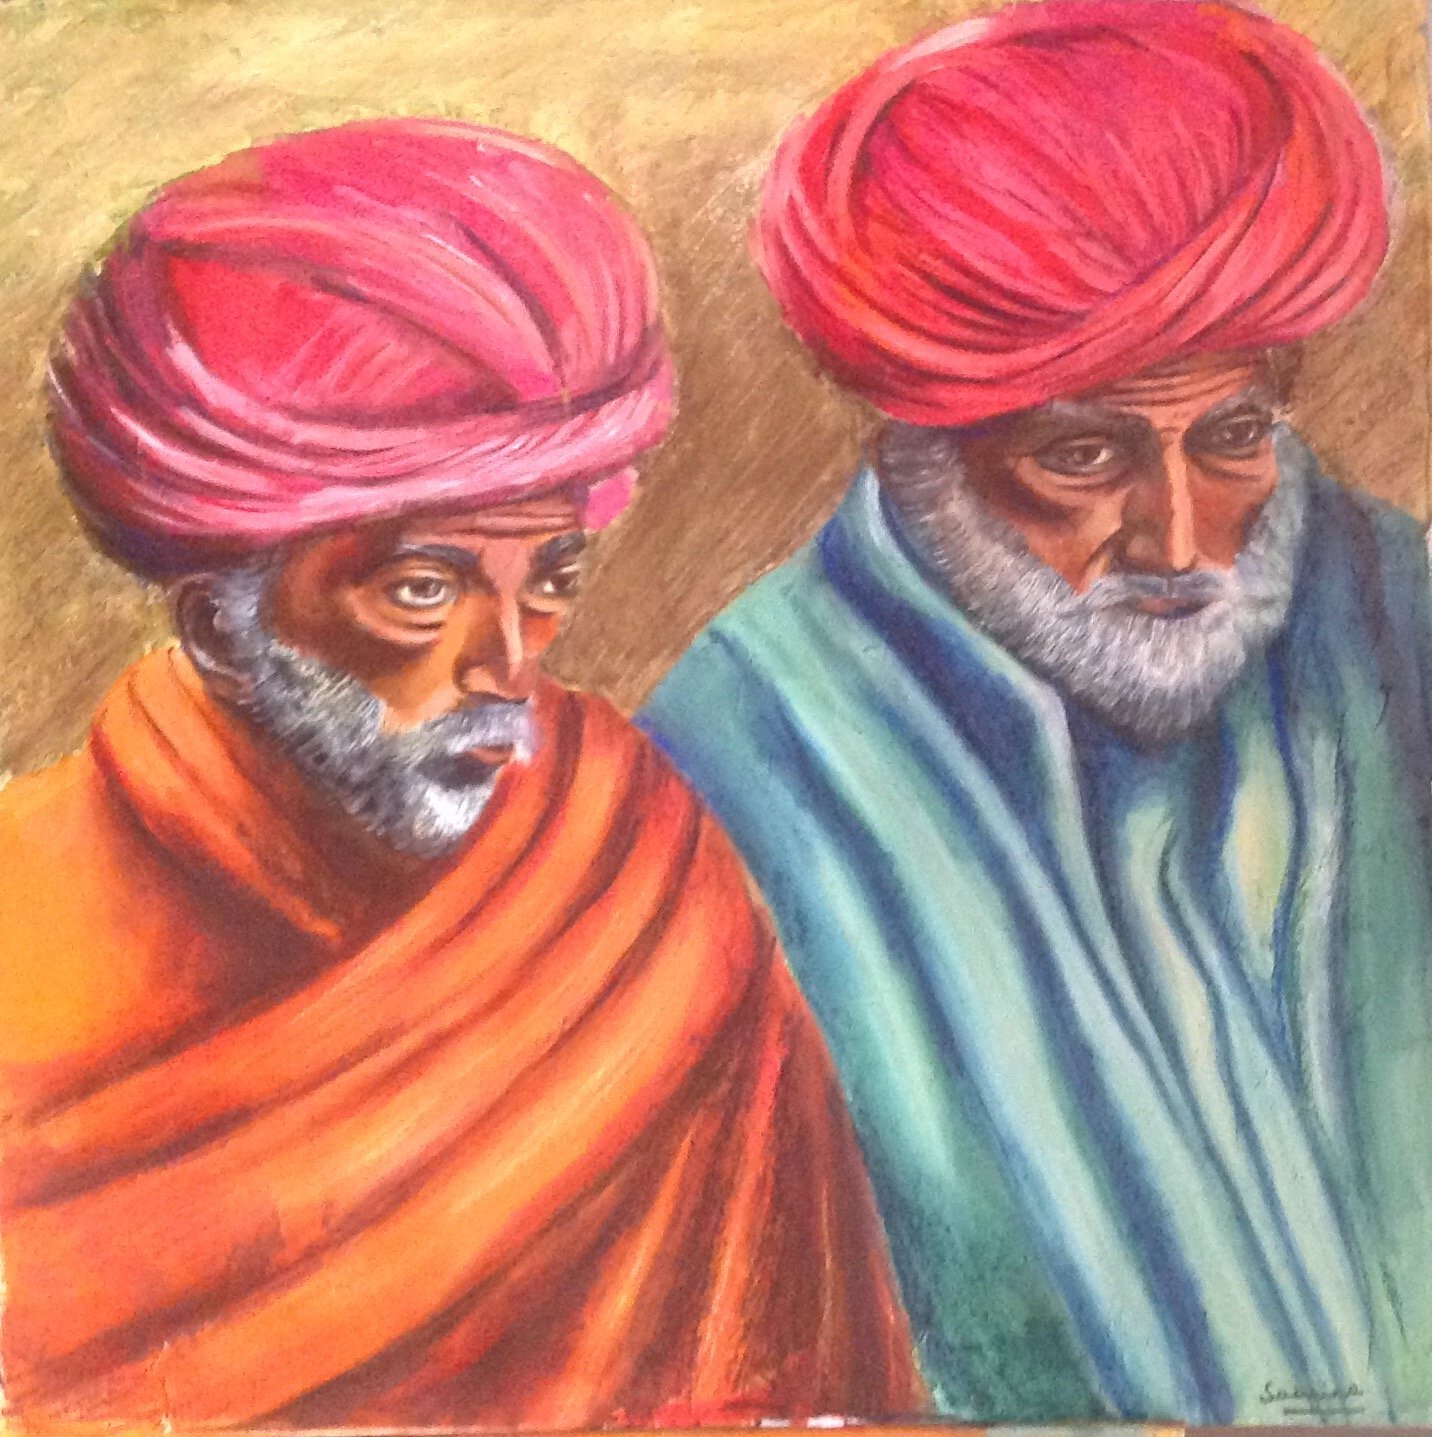
On another occasion, I found myself staring at two wizened, old men, on a cold winter morning at a tea stall, at the railway station. An aluminium kettle was on the boil on a makeshift stove. My embarrassed husband restrained me from taking photographs, so I captured the image in my mind, (which meant more staring) and turned them into paintings.


If You Can’t Paint Plein-Air, Don’t Despair…
En plein air is a French term that means, “in the open air.” A “plein-air painting,” is a painting that is completed on location. Most schools of thought recommend painting on location as much as possible – be it a still-life, a landscape or figurative forms, based on the study of live models.
When impressionist French masters like Claude Monet and Pissarro began painting outdoors, it was considered revolutionary. Today, working on location is a routine practice for many landscape and cityscape artists. Plein-air artists maintain that the essence and soul of the subject get lost when a painting originates from a photograph as the sole reference material – an artwork reflects the joy the artist experienced while painting on location.
We may ask why that is so? What are the differences between painting from life and painting from a photograph?
A photograph very often does not show the world as the eyes see it.
Why is that? The image captured by a camera is in many ways different from the real thing our eyes see.
To paint from a photo and render the subject as the eye would see it, you need to learn about the possible distortions and limitations of a photograph and how to correct them.
In photos, shadows are darker and less detailed
Shadows and dark areas don’t print well. Dark values get darker and lose detail.
When we view our subject with the naked eye, shadow areas hold a lot of details, and in most cases a wide range of tonal variations. When we take a photo, the camera distorts the contrast and colours making them flat – we lose a lot of elements and interesting details. The variation of colour in the lighter are get washed out as well – at times overexposed.
Apart from this, perspective can get skewed if the position and angle of the camera are not correct.
- Having said this, plein-air painting has its challenges and it is not always possible to work on location. A crowded street in India is not the most conducive environment for an artist to work on a cityscape project – getting a model to pose nude for a charcoal project can prove to be a tall order – painting a landscape plein-air, in the scorching Indian summer can take the joy out of art – the rain can dampen your enthusiasm. So despite your best attempts to paint plein-air, sometimes a photo reference is the most workable option.
.
Shop this now on
https://www.etsy.com/shop/RengeBySabrina
I will share a few valuable tips you need to keep in mind when using photo references for paintings and some techniques you could employ when photo shooting the subject of your art project, to create great paintings.
- Avoid using overexposed or underexposed images. Examine the darkest and the lightest parts of your reference image – are all the details and variations of tones visible? If the dark areas are too dark, turn the image around to see if you can see any fines details. A photograph taken during the day and in natural light is will capture the maximum detail and will make a good reference.
- A high-resolution reference image makes for a good painting. Ensure that your reference image shows more than the level of details you wish to achieve in your painting.
- Consider the placement of your subject on the canvas/support, keeping in mind the rule of thirds. Will the subject matter fill the space on our support or will you have to resize the subject? Positioning of the focal point is important and the negative spaces need to be balanced and worked with interesting details. You don’t have to faithfully reproduce every single detail from the reference image – there is enough scope for creativity, even if you work with a reference photo.
- While photographing your subject, ensure that the camera is held straight – tilting the camera upwards or downwards will distort the image. This is very important when you are photo shooting buildings for a cityscape – you don’t want the buildings looking stunted or elongated and tapering at the top.
- .


- Shop these now on
- Use editing software to enhance the photo – use the adjustment of light, colour, contrast and saturation. Desaturate or mute the colours, lower the contrast and soften the areas that you don’t want to draw attention to. Techno-phobics like me can use photo-editing software with a fair amount of success.


I hope you found this blog useful. Paint plein-air as much as possible. If you can’t paint plein-air, don’t despair – there is always a solution!

The Planning Of The First Solo Exhibition – From The Ground Up
The first solo exhibition is a very significant step in the journey of an artist. Curating and planning your solo art exhibition takes a bit of doing in the courage department. Brushing aside those doubts and fears about negative feedback can be quite daunting. Once you have dealt with your fears and misgivings and know that your artwork is show-worthy, you are good to go. It is a risk worth taking for emerging and established artists, as exhibiting your paintings at a public venue takes your art to a wider audience and gives you the exposure you need as an artist.
When preparing for your exhibition, the first point to consider is the context of your show – should it have a theme or be non-thematic. I prefer not to be stuck with a theme – I create artwork in series of four, three or even two. The average time an artist will need is two to three years to come up with enough artwork for a solo exhibition.
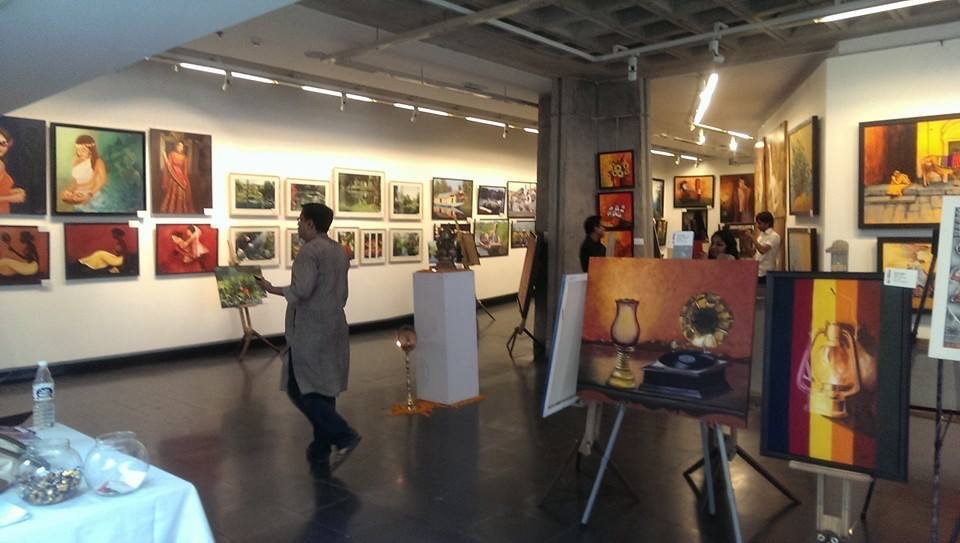
Holding your solo art exhibition is a great way to build up your artist profile, an opportunity to collaborate and interact with people from the world of visual art and sell your work directly to collectors. It is an investment in yourself so ensure that you have a budget that covers all your costs. Many well-known artists have self-organised solo exhibitions to generate interest in their work. Having organised and curated several group shows and solo shows, let me walk you through the process and steps involved in setting up a successful exhibition.
- Assuming that your artworks are complete and titled, the first step is to scout around for a venue. Try to find an art gallery that is a part of a cultural hub where plays are staged, music gigs are held and one which is home to good restaurants and cafes. That way you can leverage the crowd coming in to eat or watch a theatre production. Block dates that coincide with other important cultural or shopping events that are taking place around the art gallery. Check with the gallery authorities if they provide or allow press coverage and the traditional wine and cheese party on the evening of the inauguration.
Get an estimate of the cost of labour for the installation of the paintings and check on the availability of hooks and fish-thread to hang your paintings. Find out if the gallery will make the arrangements for the inaugural event (cocktail evening et al ). If not, then tap a wine company that will sponsor the wine for the cocktail event in return for publicity through your event. Most galleries are connected to caterers who arrange the food and tenting for gallery events. Discuss the cost of all of this.
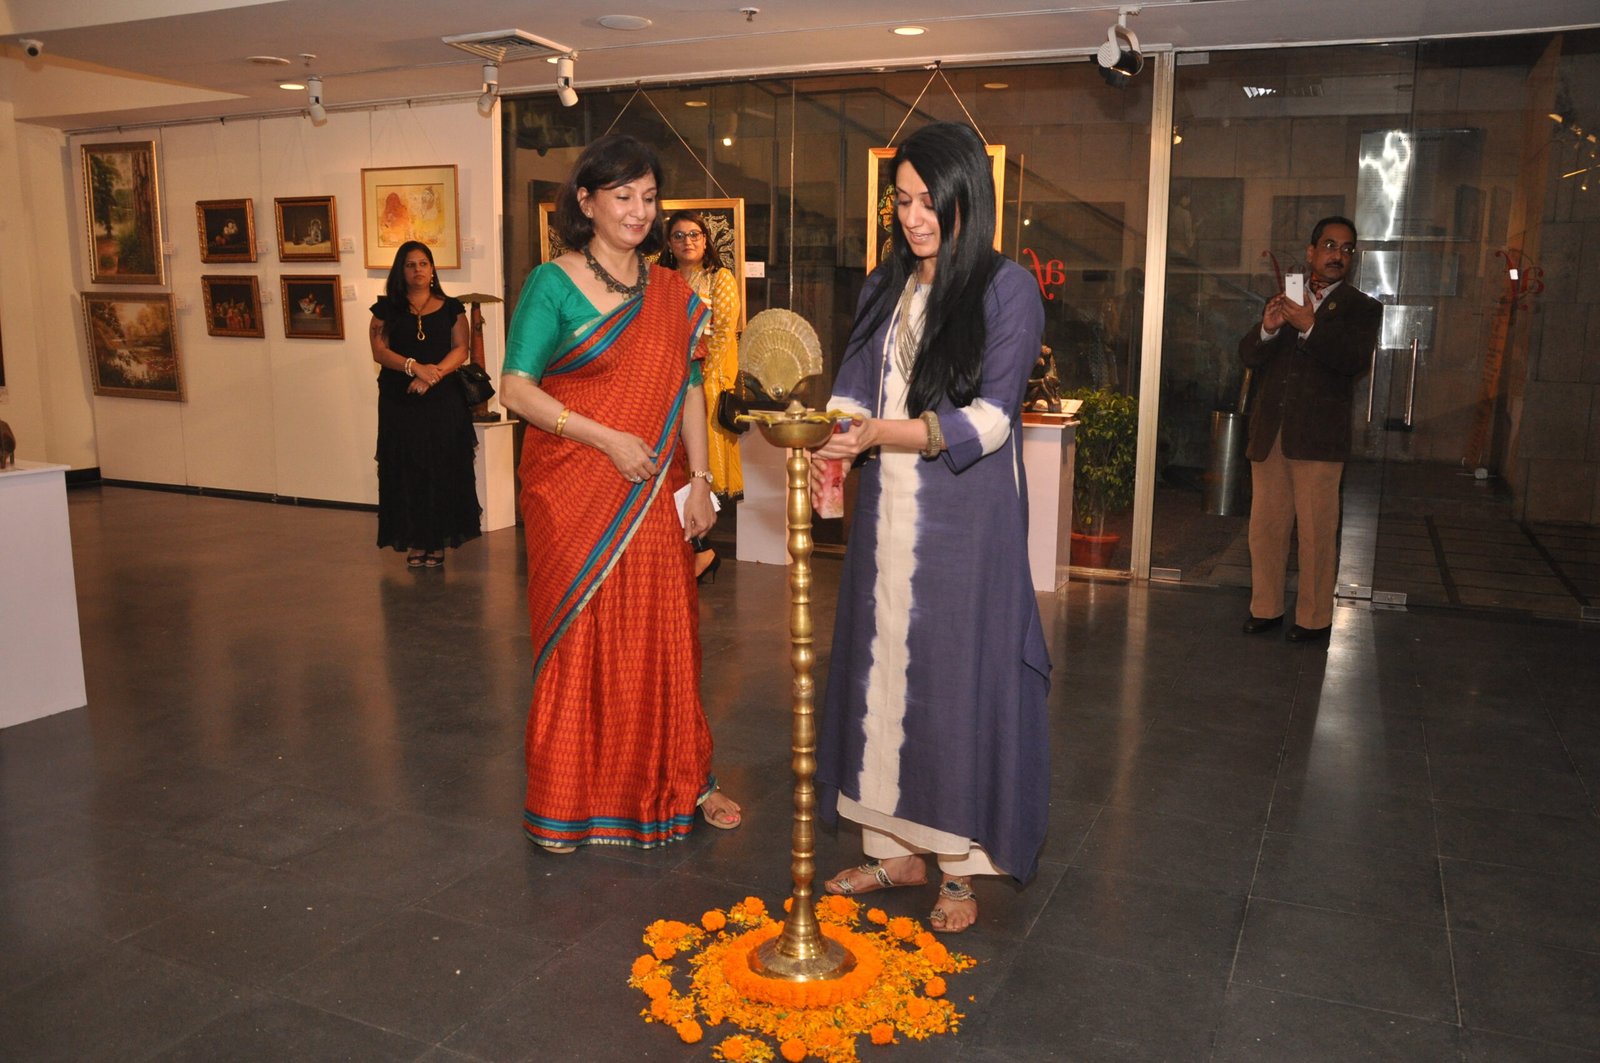
Getting a printout of a floor plan of the gallery will enable you to plan the display of your paintings. Check with the gallery if they could share contacts of art collectors and art galleries for you to invite to your exhibition – if not, then scour the pages of Google and prepare a list of invitees and zero-in on a chief guest. It is always preferable to have a celebrity from the world of art (visual art or performing art) or a socialite to cut the ribbon and light that lamp.
Give your intended chief guest a complete heads-up on your exhibition, a couple of months ahead of the event, so that he/she can block the date and be available.
- Collaborate with an NGO and share a percentage of the sales with the NGO.
It is important for your customers to know that a part of the money they spend on buying your work, will support a social cause.
- Market and publicize your exhibition. If you are like me, and the thought of marketing makes you want to curl up in a fetal position and eat popcorn, a good way to start is to get in touch with a public relations company and set up a publicity campaign tailored to your budget. If your budget does not permit you to hire a public relations consultant, don’t fret – there is plenty that you can do to promote yourself. Most weekend newspapers feature upcoming art events, free of cost. Look out for such articles a few months ahead of your exhibition. Make a note of the feature and the contact details of the journalist. Email the publication with complete details of your exhibition along with a few images of your artworks – if your previous exhibitions have been covered by media, attach those media clippings as well. Follow up this email with calls to the and (gentle) reminders closer to the date of the show. Gentle persuasion always works.
Apart from this, advertise your upcoming exhibition widely on all social media forums. Draw up a list of your contacts and send out social media invitations, asking them to save the date. List out the people you would want to send the printed invite to – remember to include your sponsors!
Arrange to get your event listed on the events page on the day of the exhibition by letting the newspaper know a week ahead of your show – you will need to follow this up with (gentle) reminders. This is a service that most newspapers provide free of cost.
If you have the funds, set aside a budget for media coverage of the inaugural event, (assuming that the gallery permits an inaugural event). If the cost of publicity in a mainstream daily is too high, harness the power of social media and make your event go viral – to this end, you can enlist your friends, family, your childrens’ friends – the list is endless. Remember to hire a photographer and ensure that the photographer reaches the venue at least an hour before the inauguration.

- One of the most important items that you need to get hold of, is a credit card swipe machine. You can do this by opening a current account in a bank and requesting your bank manager for a credit card terminal. This vital if want walk-in sales.
- Printed publicity material.
The printing of catalogues, invites and envelopes, standees, posters, painting tags, price tags, visiting cards needs to be done at least two weeks ahead of your exhibition. You can save yourself some money by using free templates available online for the invites and can design your logo and visiting cards on applications like Canva etc. Ensure that your publicity campaign, online and offline, has the logo of any sponsors and charitable organisation or NGO that you may have collaborated with.
The printing press would have samples of artist catalogues which you can alter to your taste.
It usually takes a day or two to brainstorm with the people from the printing press before you finalize your publicity material.

- Inviting people.
Once the printed matter is with you, call up all the people you intend to invite before you send them the invitation. Close to the exhibition, put up posters at strategic locations and keep the social media publicity going. Please invest in a visitors book and a small giveaway for the chief guest. - Send out the printed invitation a week before the inaugural event so that the invitees receive them three to four days before the date of the exhibition.
- Installation of paintings. On the eve of the inauguration, go to the venue with your paintings and have them installed and tagged to your satisfaction. Place standees at vantage points at the venue, arrange catalogues, visiting cards and the visitors’ book on your table. Ensure that catering and other arrangements are on track. Go home and have a restful sleep.


- Showtime!
Bring on that charm and put on your best smile when you attend to visitors and invitees. Share the inspiration behind your work and the picture story behind each paintings. Receive your guests and chief guest and make a short welcome note/speech after the lamp is lit and the ribbon is cut. Remember to thank your sponsors, the media team and promote the charitable institution you have collaborated with. Lastly, enjoy the party!


The Creative Thinking Process
“Creativity is inventing, experimenting, growing, taking risks, breaking rules, making mistakes and having fun”.
Mary Lou Cook
Creativity is a cognitive process which with starts with sowing the seed born out of inspiration and the subsequent germination and transformation of that seed into a plant. This is makes up the creative process.
All of us have creative potential. Almost every day, we make decisions and act on them by using our creativity. A lot of our daily situations call for a creative solution.
The creation of an artwork is termed the creative process, and contrary to popular belief, it does follow a sequence of steps. In other words, any creative activity, believed to be purely spontaneous, does have a structure and it does follow a pattern. The time taken to complete a project is variable – for example – there is no fixed gestation period for creating a painting or writing a book.
What is the Creative Process in Art?
In simplistic terms, the creative process is the way thoughts or creative ideas come about and unfold. Creativity is a combination of influence, inspiration, and the process of following through with that influence and inspiration. It always begins when, inspired by an idea, the urge to create grabs you and ultimately leads you to create your masterpiece – the finished product. We can break down the creative process into five stages which are as follows –
1.The Preparation Stage
This stage starts with an idea or thought. This idea or thought may or may not happen spontaneously – in most cases, this idea is the outcome of, “consumption”. “Consumption” has been explained by the creative expert James Taylor who says,
“If you’re a musician you are absorbing a lot of the music that is inspiring you to create this new piece. If you’re a writer, you are reading other writers in this area. If you are an artist you are looking at other artist’s work in the area that you are looking at creating something in”.
If you want to optimise your creativity, start by absorbing and consuming as much as you can. Expose yourself to new experiences – travel, read, visit art galleries, interact with people from different cultures…
The preparation stage involves collecting as much information or inspiration as you can, throwing yourself into the planning process and preparing an environment where ideas can grow and be executed.
2.The Incubation Stage
incubation is related to intuition and insight – the incubation stage is about taking time and going within. This is the stage when, all the information that you have collected in the Preparation stage, seeps into every cell of your body and your subconscious mind. This is an extremely important stage of the creative process – sometimes, an idea can incubate for days, weeks, or months. In this stage of the creative process, it is your subconscious that is doing all the work. The conscious mind processes those ideas during the Illumination stage.
3.The Illumination Stage
This is a time of fruition. A time when ideas come to a head- the “Aha!” part of the creative process – that epiphanic moment when all concepts align with each other and finally make sense. The light bulb comes on as now you can actually visualise the end product. All of that material that you have gathered comes together.
The “Aha” moment can happen quite suddenly, out of the blue, like a bolt of lightning! My “Aha” moment once struck me, just as I was drifting off to sleep. I was so charged up and adrenalised by the sequence of thoughts, that I was up for the rest of the night. At this stage the ideas from the subconscious flow into the conscious mind.
The illumination stage is the shortest in the creative process.
3.The Evaluation Stage: This is the point where you consider the viability of your idea aesthetically and commercially. This is also a stage of market research. At the evaluation stage, you look back at your initial ideas and concepts to see if the outcome of your efforts would be in sync with your initial vision. During this period, you might reassess and make edits to work in progress and ask yourself the following questions
- Is it really worth the effort?
- Is it unique enough to create an impact?
- Should I run this idea by a fellow creative?
The Implementation Stage – This is the stage where you dive into the tough stuff – hard work and the implementation of your project. The product of your creativity could be a painting, a musical composition, a book, an architectural project —the product of your efforts, which started as an idea, now comes to life and you bring the object of your creativity out into the world!


Shop these exquisite original paintings now at
https://www.etsy.com/shop/RengeBySabrina
Closing Thoughts
To all my fellow creatives out there, don’t despair if your projects take longer than you had imagined. Instead, surrender to the creative process and enjoy the journey. Feed your senses on a rich diet of inspiration – find what ignites that passion!

Acrylic Painting – A Joyful Experience!
Wikipedia, defines Art as a “Diverse range of (products of) human activities involving creative imagination to express technical proficiency, beauty, emotional power, or conceptual ideas.”
From time immemorial people have been using various materials and mediums to express themselves. The term “medium” was first used specifically to mean different materials used to create art. Artists have always chosen the medium that fit their skills and suit artistic style. Back in the day, the caveman ground coal and used it to draw on Altamira cave walls. A variety of vegetable dyes were processed for artistic creations. Today we have a whole range of media to work with, including digital media, where art is created either entirely on the computer or hand-drawn images scanned into a computer and finished with software like Adobe illustrator.
Artists, from Pablo Picasso and Marcel Duchamp to more contemporary artists, have established that art can be made of absolutely any material. Many contemporary artworks are made from a variety of materials and the term “mixed media” has been coined to take account of this. If you visit art museums, you will find next to an artwork, a small display card that states the title of the work of art, the name of the artist and the medium from which the work of art was made. For example, a painting like Van Gogh’s “Starry Night” would be accompanied by a listing of “oil on canvas”.
Today’s artist is spoilt for choice as there is a huge variety of art media available. To name a few there are-
- Tempera
- Oil Paints
- Acrylic paints
- Watercolors
- Charcoal
- Pastels
- Chalk
Out of these, charcoal and oil paints are among the oldest media. Oil paints were used in Europe since the 12th century.
Oil paints are one of the great classic media. They have been used for hundreds of year’s and have stood the test of time with durability and steadfast colour – they have a slow drying time, during which the colours do not change and are very forgiving, allowing the artist to rework and make changes. Oil paints are mixed with solvents linseed oil and turpentine oil.
Acrylic paint is a fairly recently developed medium compared oil and watercolor painting. It is water-soluble when wet and yet because it is a plastic polymer, it dries into a flexible, water-resistant, and durable surface to which more layers of paint can be added. Oil painting techniques can be used in acrylic art and acrylic paint lends itself to transparent watercolour techniques as well.


Mixed-media on paper – shop these now on
https://www.etsy.com/shop/RengeBySabrina
Here is why acrylic paints are fast becoming the preferred medium.
Acrylics are not a high-maintenance medium. While you will need many supplies to begin oil painting (paint, solvents, rags and a ventilated space), you need just four simple tools to get started with acrylics: the paint itself, a brush, a cup of water, and a surface to work on.
You can control the consistency of acrylic paints. One of the most significant qualities of acrylics paints is their malleability. If you add a medium that thins or thickens your material––acrylics can take on the qualities of other paints. For example, if you add an acrylic retarder with your paint, it will retard and slow down the drying time, so that acrylic paints can be worked like oil paints. You can also add mediums to create awesome effects with acrylic paints- you can make your acrylics crackle, shimmer or glow.
Acrylics are non-toxic and are among the most versatile mediums to work with. As no toxic solvents are used to mix the paints, acrylic paints poses lesser health hazards and acrylic painting can be done anywhere. Oil-based paints on the other hand have a high level of toxicity and if there’s no ventilation in the artists work-space, solvents like turpentine emit toxic fumes, making it difficult to breathe at times. In recent times, water-soluble oil paints have been developed, however, they lack the versatility of acrylic paints. Mineral oil solvents give me a high – not the most desirable situation while painting!


Mixed-media on paper – shop these now on
https://www.etsy.com/shop/RengeBySabrina
One of the reasons artists are like me are so drawn to acrylic paints is because of how quickly they dry – you can finish a painting in a day! You can apply layers of colour on top of one another very quickly and create a very interesting glaze. I love creating glazes!
Another aspect of acrylics is their ability to take on three-dimensional form. While oil paints, watercolor, etc, adhere to the surface of the support – acrylic paints on the other hand being malleable have a sculptural quality and can be textured as desired.
To quote acrylic art gurus like Nancy Reyner and Annie Gonzales, there is no end to the techniques you can employ with acrylic paints and no end to the effects you can create with acrylic painting. So go for it!

I Am An Artist – l Live Inspired.
You can’t use up creativity. The more you use, the more you have. Having said that, all creative creatures have days (that can stretch into weeks or months), when they feel uncreative and uninspired – the visual concepts seem unreachable and all the ideas come to a standstill. Overcoming creative blocks is a challenge that takes will power- sometimes courage. The fear of potential failure after a hiatus can be quite daunting.
You stare at the blank canvas or page – a realm of possibilities that never failed to inspire you in the past and helped you unleash your imagination to a level where you could actually visualise every detail of your completed project. No matter how deep you dig, you just can’t seem to come up with creative ideas and feel totally stuck. Here are some strategies to help you find inspiration and get past the blocks.
- Visit art shows, art galleries, preferably alone. Viewing art at leisure, very often jump-starts the creative process. Browse art galleries online and view the works of your favourite artists to draw inspiration.
- A bunch of new art materials work wonders towards priming the pump of an artists creativity. Nothing can match the feeling of excitement an artist experiences while buying art materials. You can never own enough art supplies -there is always room for more. To quote a fellow artist, “If someone tells you that you have enough art supplies, stop talking to them. You don’t need that kind of negativity in your life”.
- Spend time in your studio. Rearrange and organise your shelves in a way that everything you need is accessible to you. The ‘setting up’ and ‘winding up’ can be quite tedious and can act as a deterrent for the creative process. Make your work-space attractive and inviting.
- Watch YouTube tutorials and podcast on art techniques. Be open and experimental – “cheat on your genre”, instead of getting stuck in a rut. If you are a landscape or cityscape artist, experiment by making a portrait in your signature style.


Shop these now on – 

-
https://www.etsy.com/shop/RengeBySabrina
- Browsing through art magazines and art books can trigger off and inspiring idea and stimulate the creative juices. I know a lot of artists who maintain inspiration files of photographs that can be used as references. Make sure you have your reference photos handy at all times. Collect creative sites – Pinterest is, without doubt, the best inspiration site.
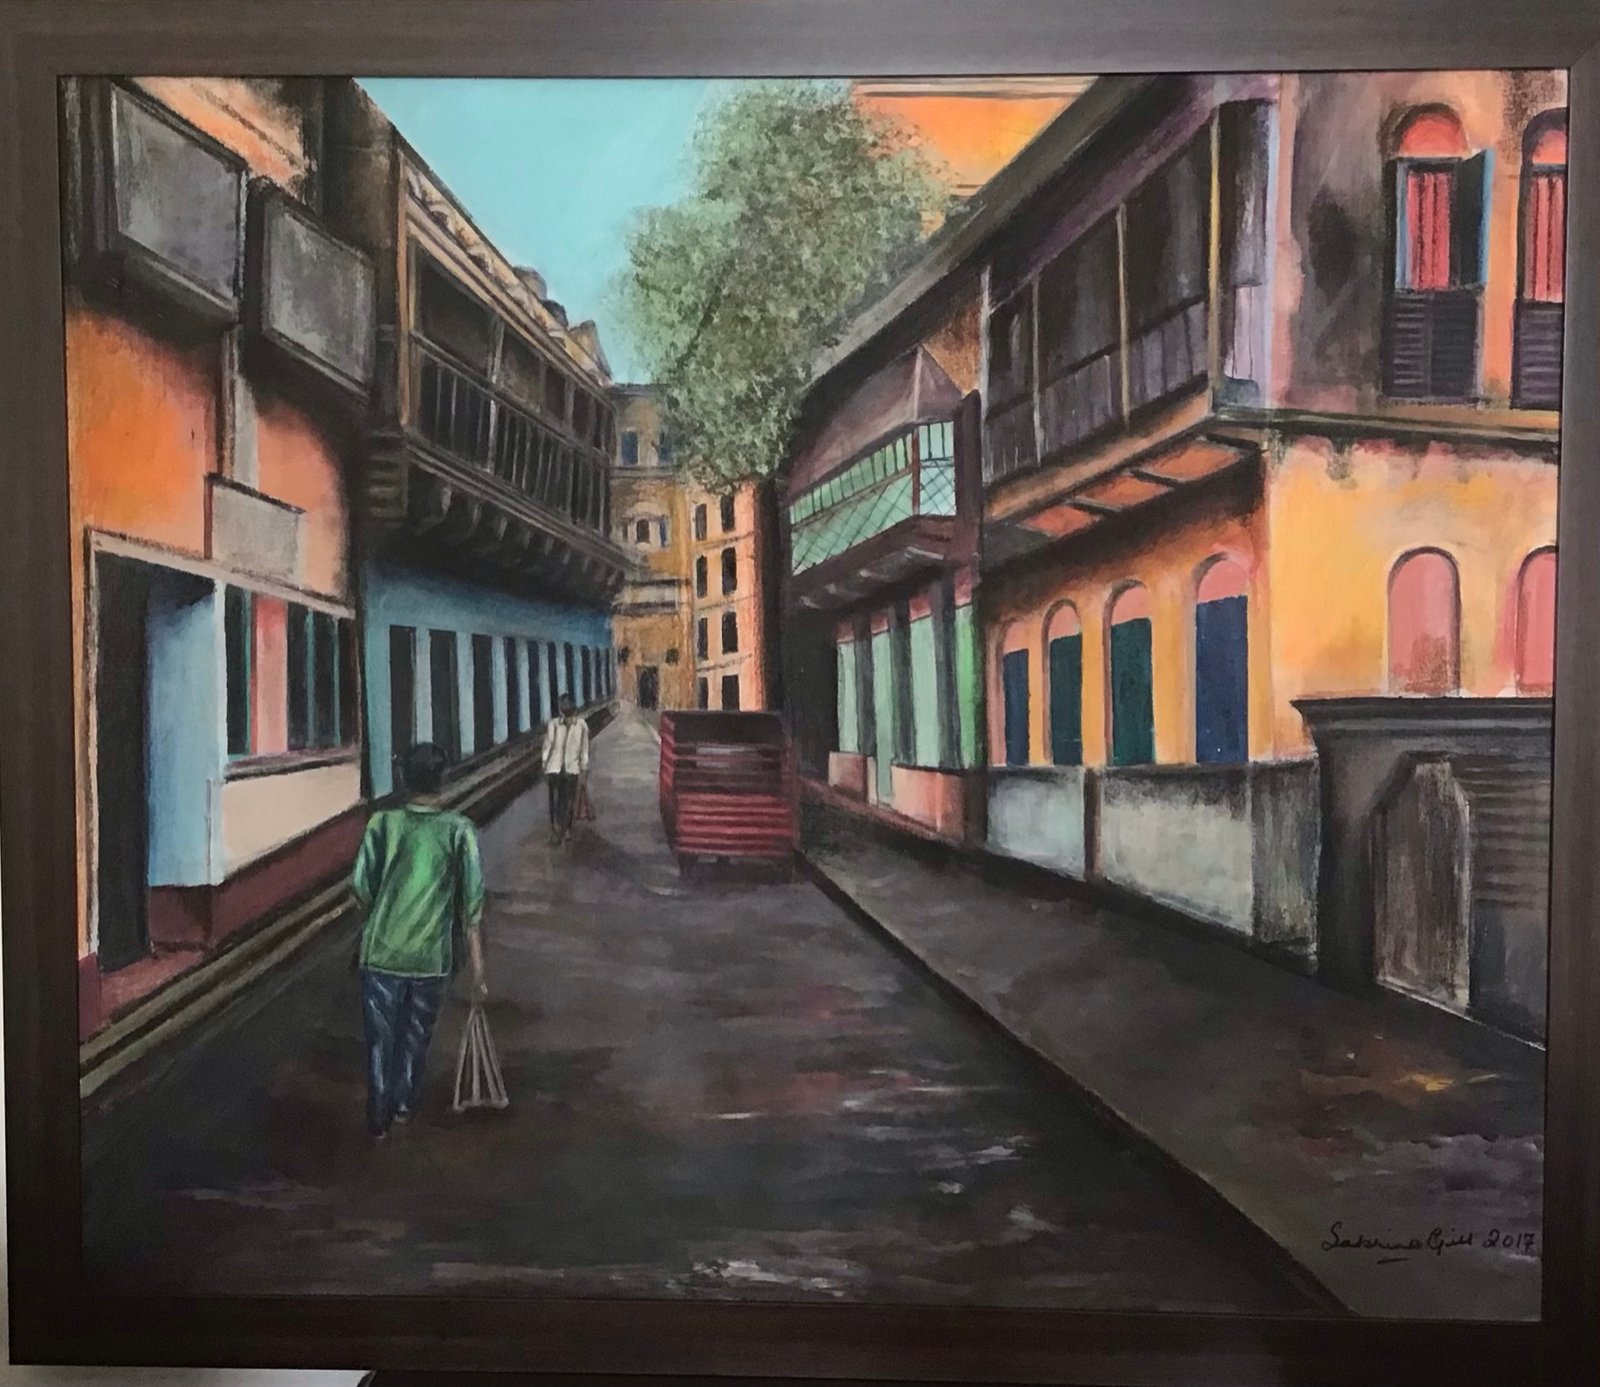
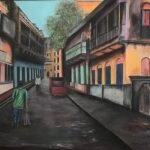
- Spend time outdoors. I once made a day trip to Old Delhi during a time when I was feeling jaded and creatively fatigued. I have always been fascinated by the architectural beauty of Old Delhi. As if on cue the sights, sound of the old city sparked off the different synapses of my brain and led to the creation of my painting titled “Nostalgia”.


Shop this now on
https://www.etsy.com/shop/RengeBySabrina
- Collaborate with other artists. Sometimes just spending time with other interesting and creative people can boost your creativity. Enthusiasm is infectious.
So try out different ways to find inspiration and see what works best for you – what works today may or may not work tomorrow. Keep your mind open to all possibilities.

I Am An Artist – I Live Inspired
You can’t use up creativity. The more you use, the more you have. Having said that, all creative creatures have days (that can stretch into weeks or months), when they feel uncreative and uninspired – the visual concepts seem unreachable and all the ideas come to a standstill. Overcoming creative blocks is a challenge that calls for will power- sometimes courage. The fear of potential failure after a hiatus can be quite daunting.
You stare at the blank canvas or page – a realm of possibilities that never failed to inspire you in the past and helped you unleash your imagination to a level where you could actually visualise every detail of your completed project. Now, no matter how deep you dig, you just can’t seem to come up with creative ideas and feel totally stuck. Here are some strategies to help you find inspiration and get past the blocks.
- Visit art shows, art galleries, preferably alone. Viewing art at leisure, very often jump-starts the creative process. Browse art galleries online and view the works of your favourite artists to draw inspiration.
- A bunch of new art materials work wonders towards priming the pump of an artists creativity. Nothing can match the feeling of excitement an artist experiences while buying art materials. You can never own enough art supplies -there is always room for more. To quote a fellow artist, “If someone tells you that you have enough art supplies, stop talking to them. You don’t need that kind of negativity in your life”.
- Spend time in your studio. Rearrange and organise your shelves in a way that everything you need is accessible to you. The ‘setting up’ and ‘winding up’ can be quite tedious and can act as a deterrent for the creative process. Make your work-space attractive and inviting.
- Watch YouTube tutorials and podcast on art techniques. Be open and experimental – “cheat on your genre”, instead of getting stuck in a rut. If you are a landscape or cityscape artist, experiment by making a portrait in your signature style.
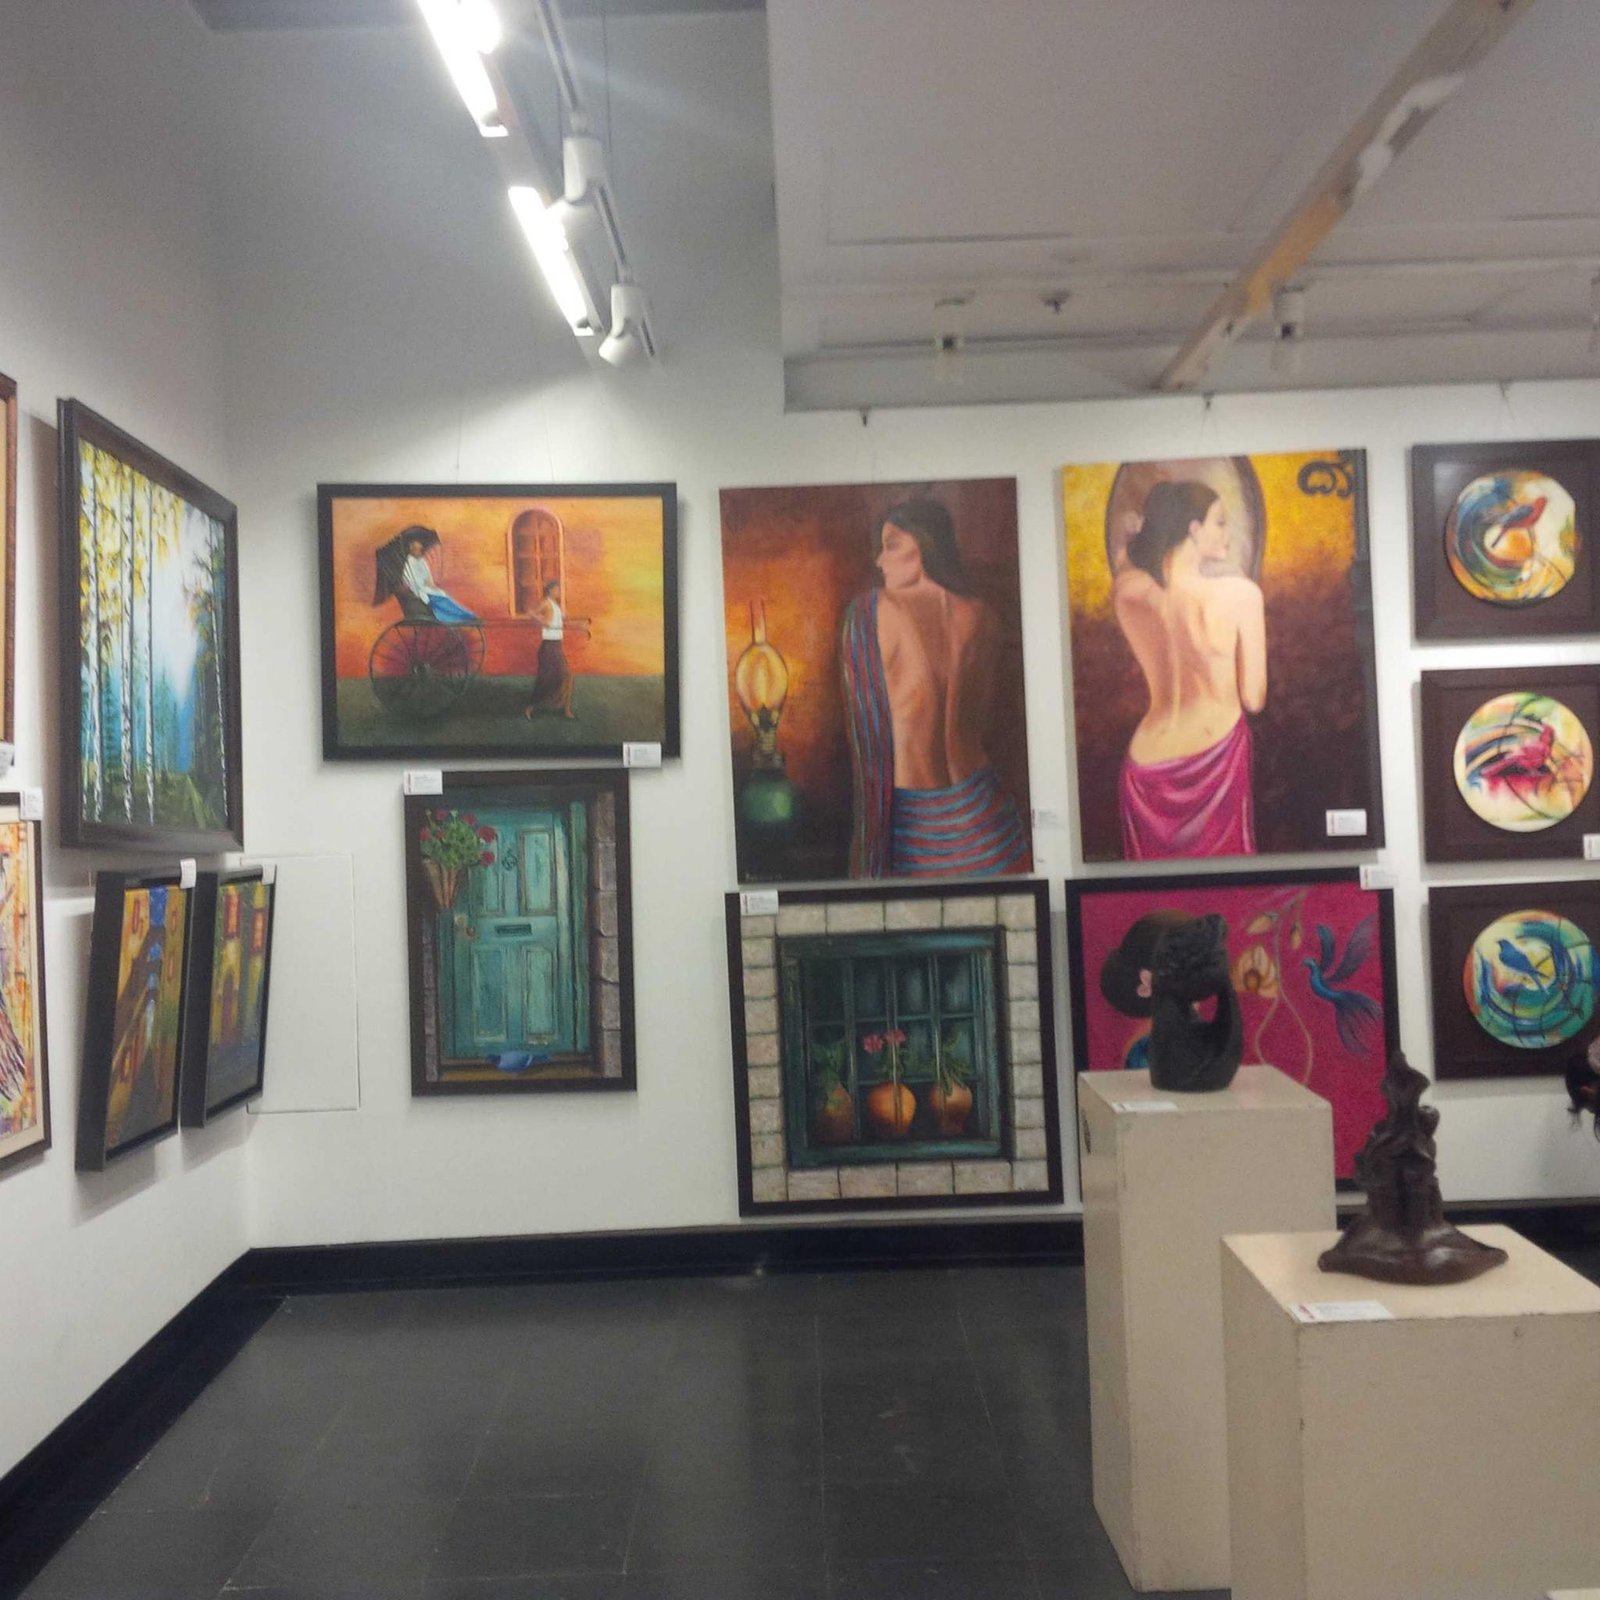
- “Alleyways” series. Shop this now Shop this now https://sabrinagill.com/ and https://www.etsy.com/shop/RengeBySabrin
- “Alleyway” series. Shop this now on https://sabrinagill.com/ and https://www.etsy.com/shop/RengeBySabrina
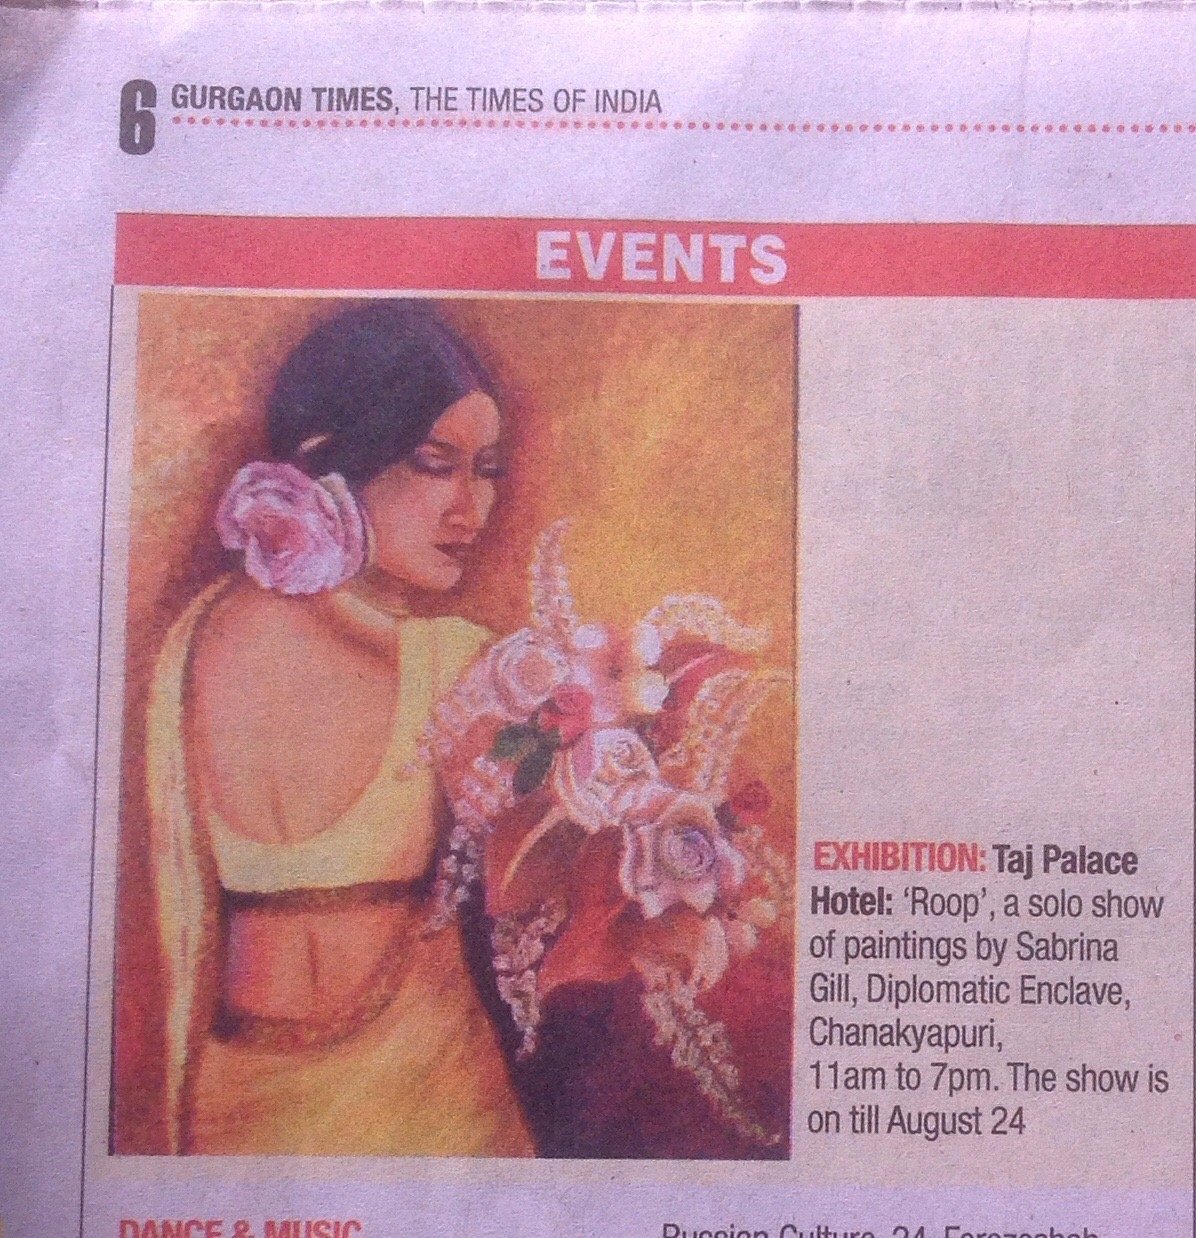
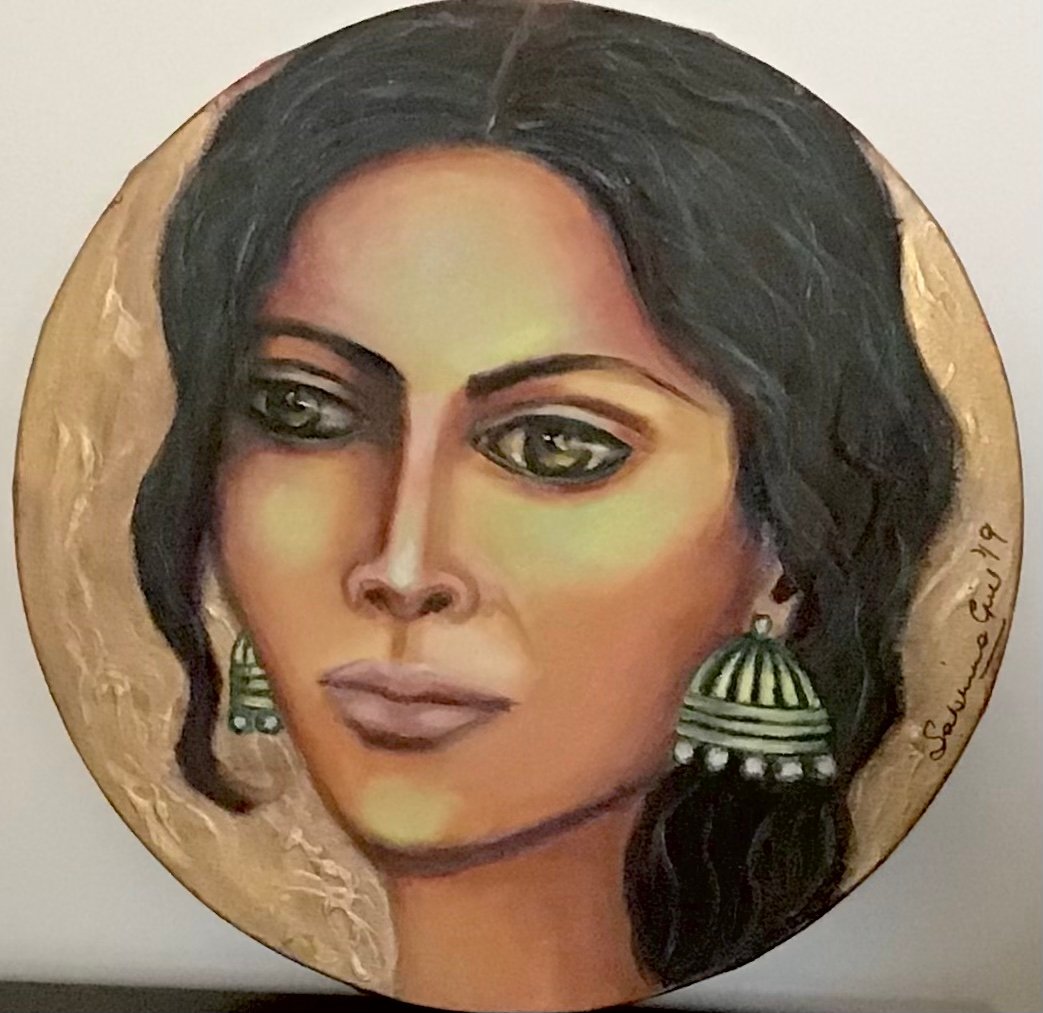
- “Roop” series. Shop this now https://sabrinagill.com/ and https://www.etsy.com/shop/RengeBySabrina
- “Roop” series. Shop this now on https://sabrinagill.com/ and https://www.etsy.com/shop/RengeBySabrina
- “Roop” series. Shop this now on https://sabrinagill.com/ and https://www.etsy.com/shop/RengeBySabrina
- “Roop” series. Shop this now on https://sabrinagill.com/ and https://www.etsy.com/shop/RengeBySabrina
- “Alleyway” series. Shop this now on https://sabrinagill.com/ and https://www.etsy.com/shop/RengeBySabrina
- Browsing through art magazines and art books can trigger off and inspiring idea and stimulate the creative juices. I know a lot of artists who maintain inspiration files of photographs that can be used as references. Make sure you have your reference photos handy at all times. Collect creative sites – Pinterest is, without doubt, the best inspiration site.
- Spend time outdoors. I once made a day trip to Old Delhi during a time when I was feeling jaded and creatively fatigued. I have always been fascinated by the architectural beauty of Old Delhi. As if on cue the sights, sound of the old city sparked off the different synapses of my brain and led to the creation of my painting titled “Nostalgia”.
- “Nostalgia” – Shop this now https://sabrinagill.com/ and https://www.etsy.com/shop/RengeBySabrina
- Collaborate with other artists. Sometimes just spending time with other interesting and creative people can boost your creativity. Enthusiasm is infectious.
So try out different ways to find inspiration and see what works best for you – what works today may or may not work tomorrow. Keep your mind open to all possibilities.

